So, I hacked an IKEA hack…
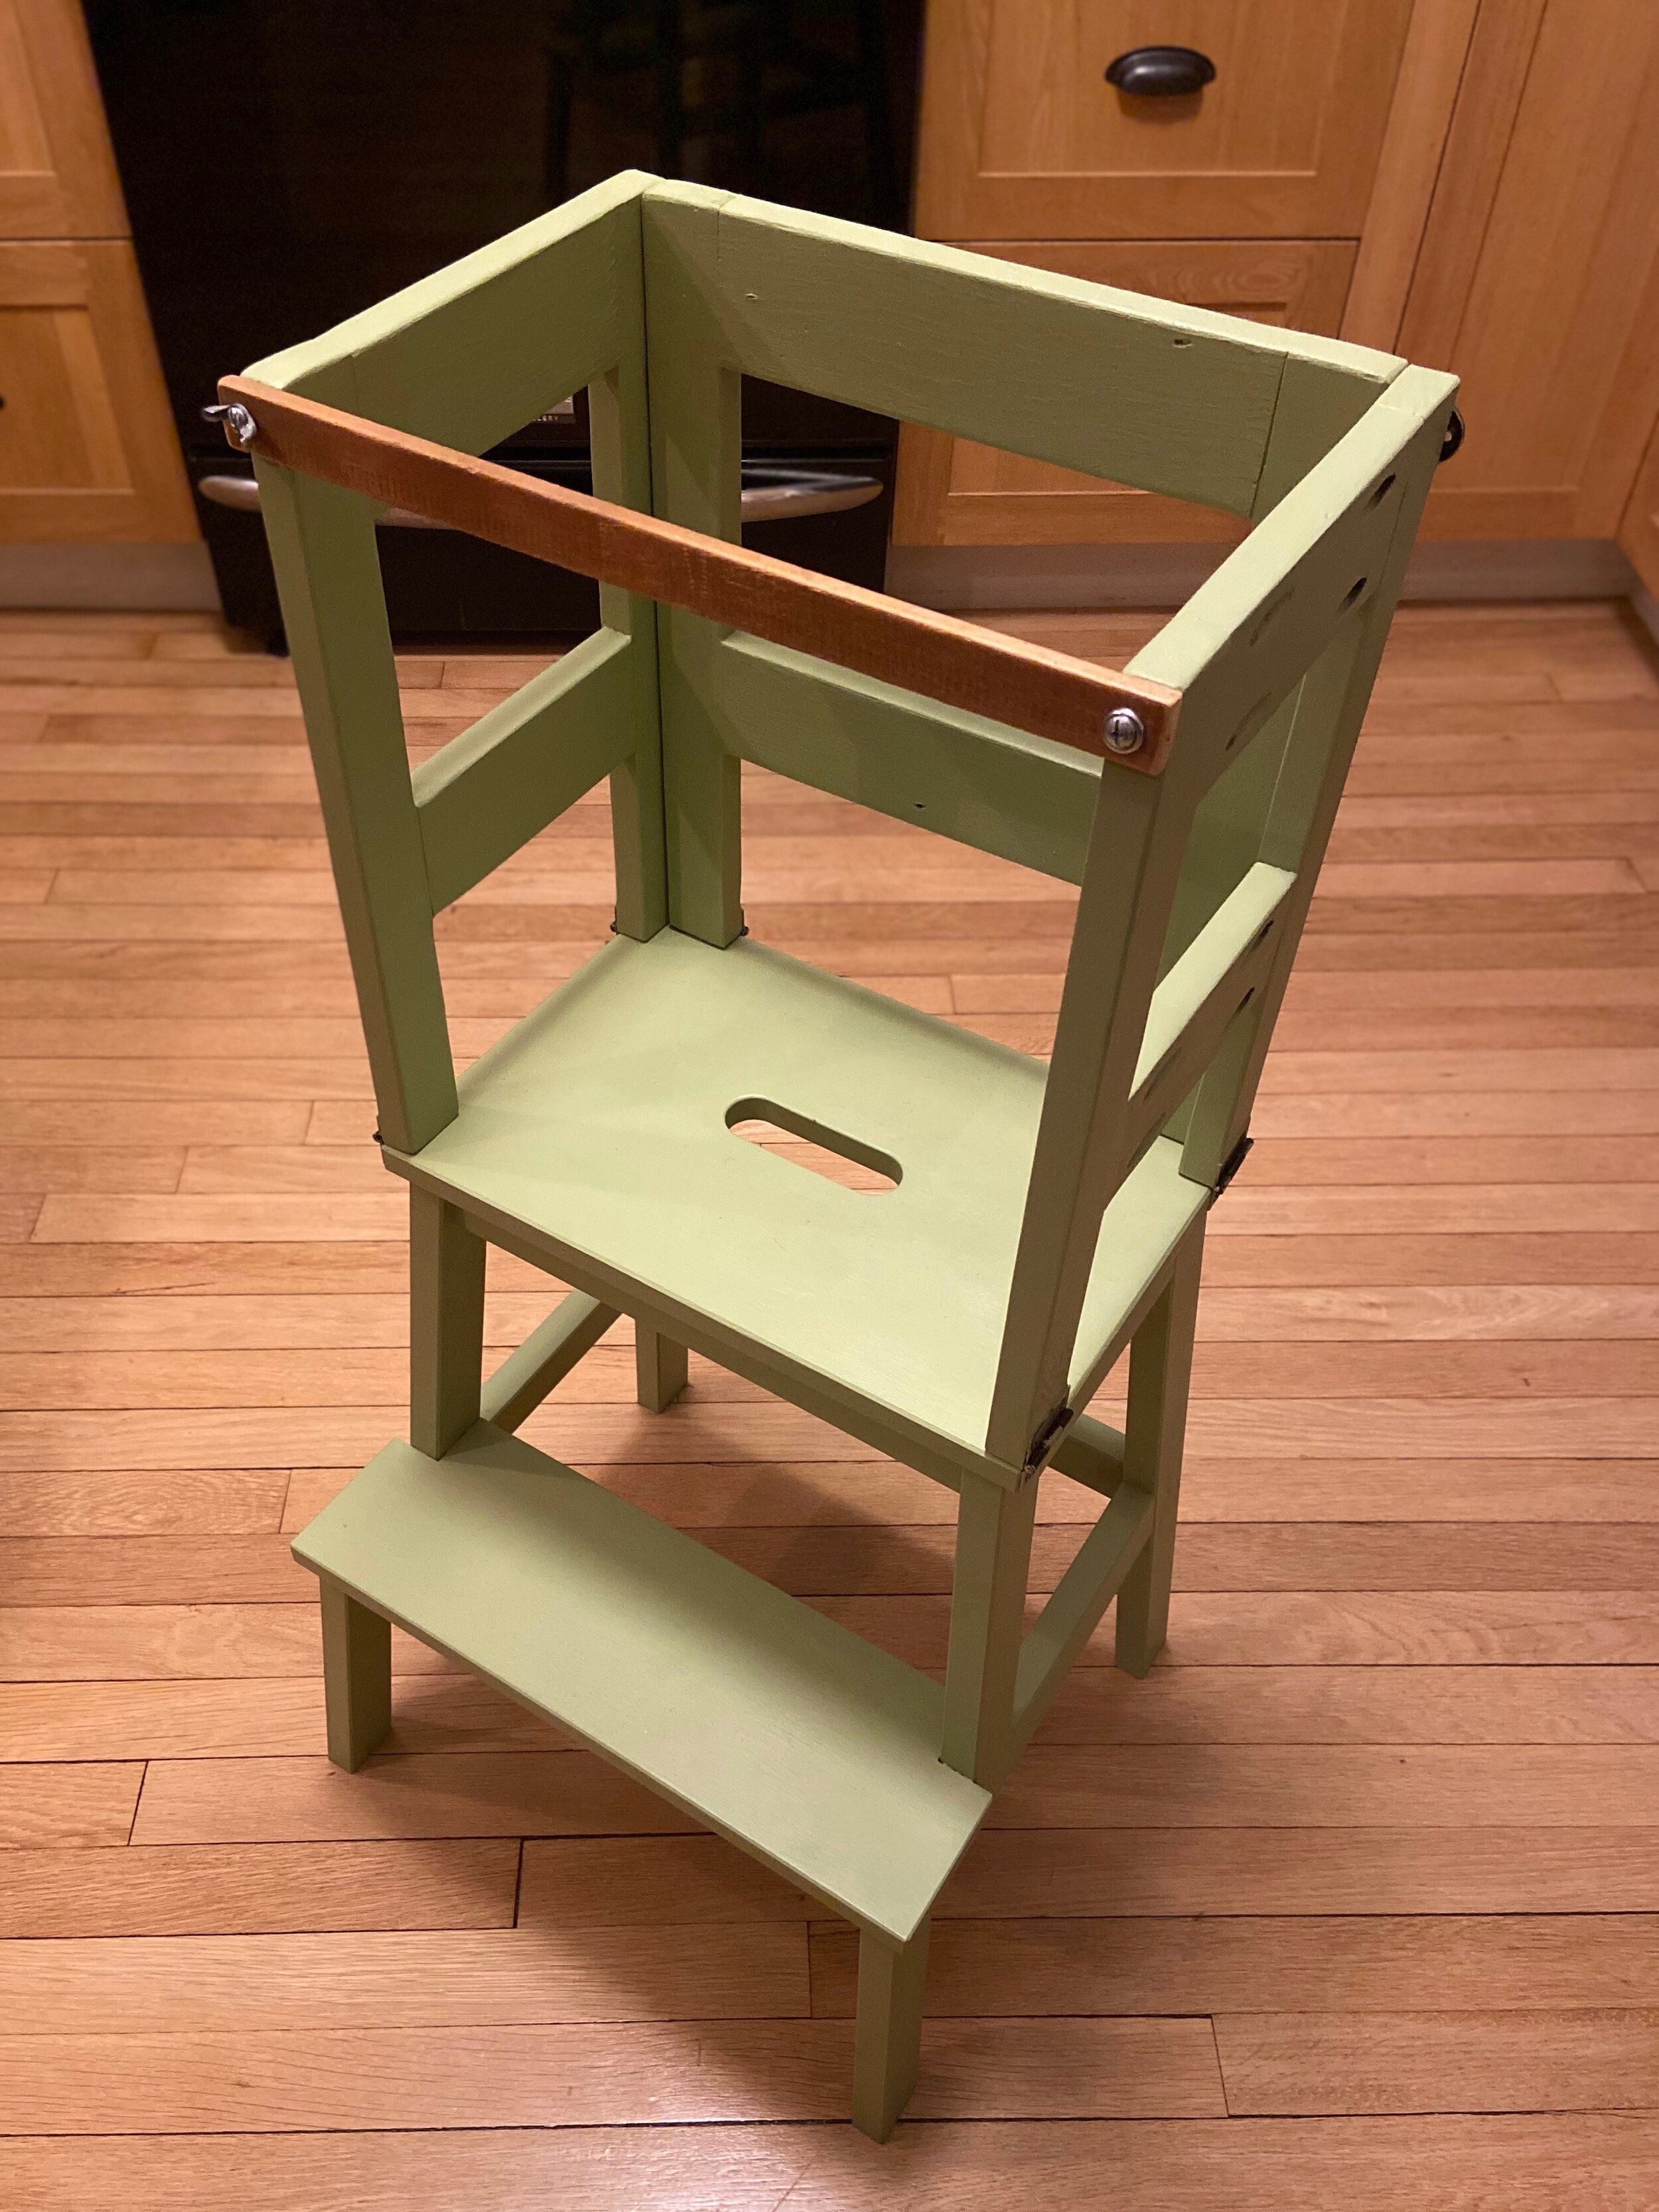
The finished product (which can still be revised)
Note: this is not a how-to, outside of how to rethink a plan and make something that suits your needs.
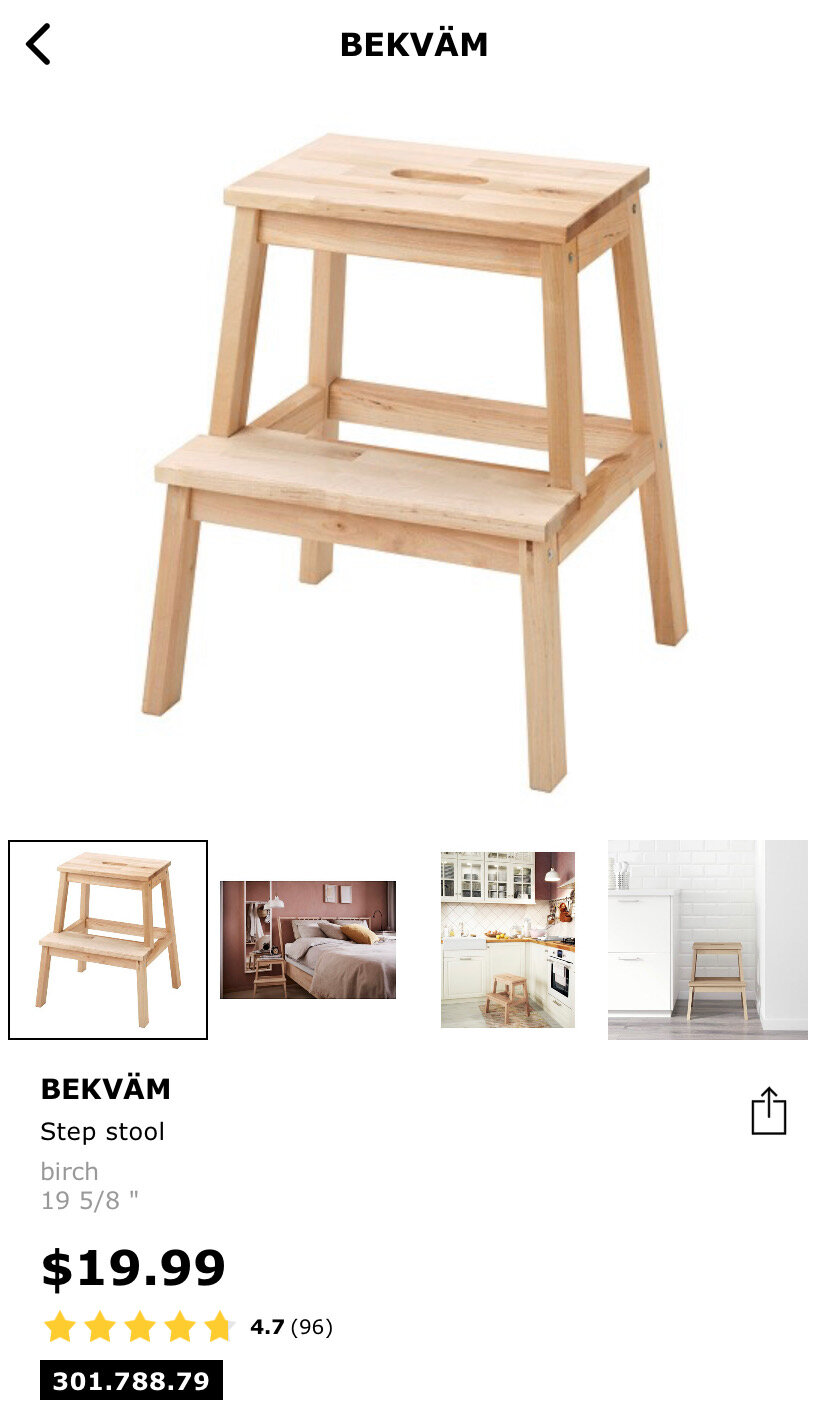
Recently, my wife purchased two wooden IKEA step stools for our toddler to use while washing his hands at our kitchen and half bath sinks - BEKVÄM, birch, $19.99 ea., to be exact. Before purchasing them though, she forwarded me a web link for an IKEA hack of this same product.

That hack turns this small stool into a “learning tower” that toddlers can use (supervised) at counter-height locations in your home. Basically, it adds a rigid, wood cage to the top step for safety. The design is pretty straightforward. “Sure…” I said to my wife. “We can probably make that happen with some stuff we have in the garage. I’ll use my Kreg pocket hole jig instead of doing what they’ve done with the screws.” That’s where the hack of the hack began - treating the “recipe” as guidelines. As an artist and someone who cooks a lot, this tends to be how I make things happen.
While assembling the IKEA products and thinking about the hack, I figured the stool could become dual purpose by adding some hinges to the sides of the wooden cage - after all, the cage and the top step are the same dimensions on the outside. (We live in a cottage-style house. Having dual purpose things conserves space.) After measuring our kitchen counter heights (they’re different) and the height of the stool, I gathered some pine lumber from the garage knowing the “cage” would be 15” tall. Then, I started planning.
First, I traced the ends of the vertical pine pieces on the top step of the stool to get a sense of how things would be positioned, making sure things weren’t going to interfere with anything else, whether they were up or down. Then I made a list of the pieces and I cut them to length, outside, with a table saw.
I went to The Home Depot looking for specific hardware; and, of course, could not find it in the bay where it was supposed to be located. But… I found some better options for this hack in the same aisle: six hinges and two chest latches. Note: I am not a perfectionist, when it comes to being an artist or working on projects like this. And, I am open to the “plan” evolving as things move forward.


Over the course of about three, nonconsecutive days (toddler, remember) I drilled the pocket holes, assembled the sides and back, added the hinges and latches, strengthened the design (based on the way the latches function), decided on a safety rail design, then sanded and painted the contraption with two coats of paint.
Here are some of the details and notes:
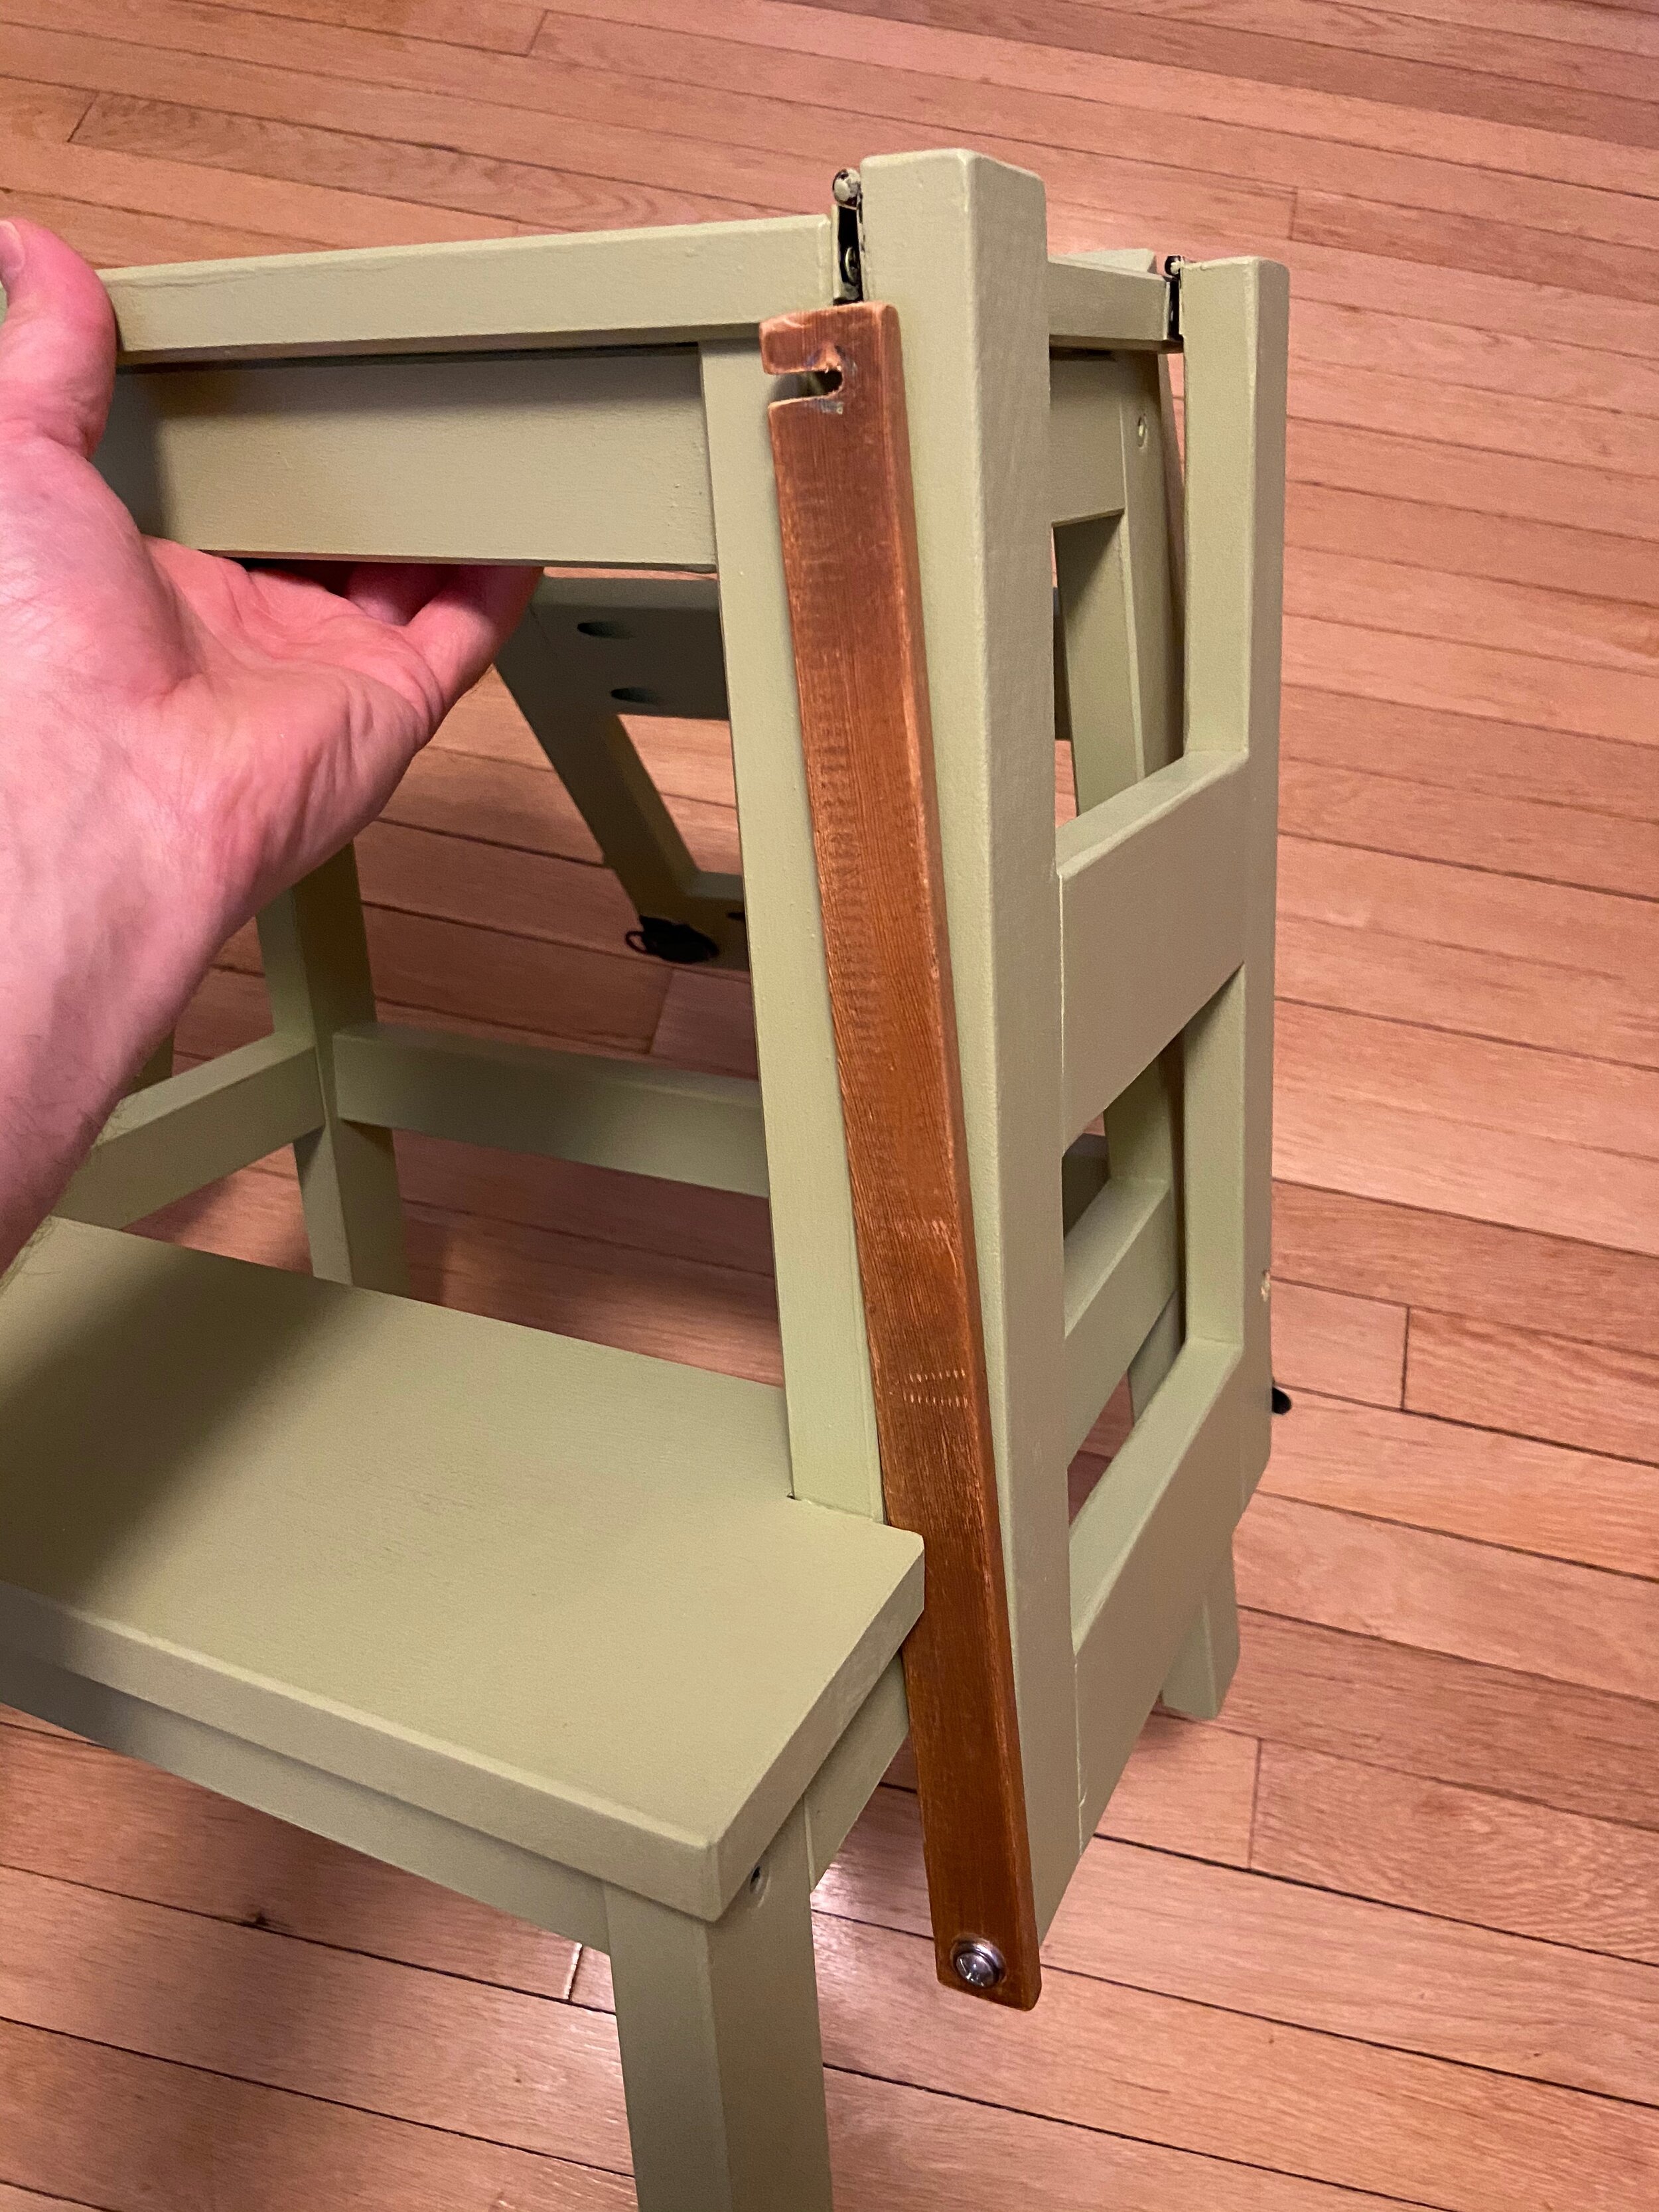
The latches overhang the sides a bit, prohibiting the use of one of the screw holes; but, my main concern was about the back moving slightly while latched - so I added a couple of dowels and holes for stability. (Eyeballed it with a hand drill. Would be better with a drill press.)
I did not like the way toddlers have to climb into the rigid, original hack; so, I decided on a safety rail that pivots out of the way. The wing nut is a bit of a safety concern; and, I may remake this rail out of oak. But, by chance, the thickness of the recycled, stained piece I used fit right behind the step when collapsed.
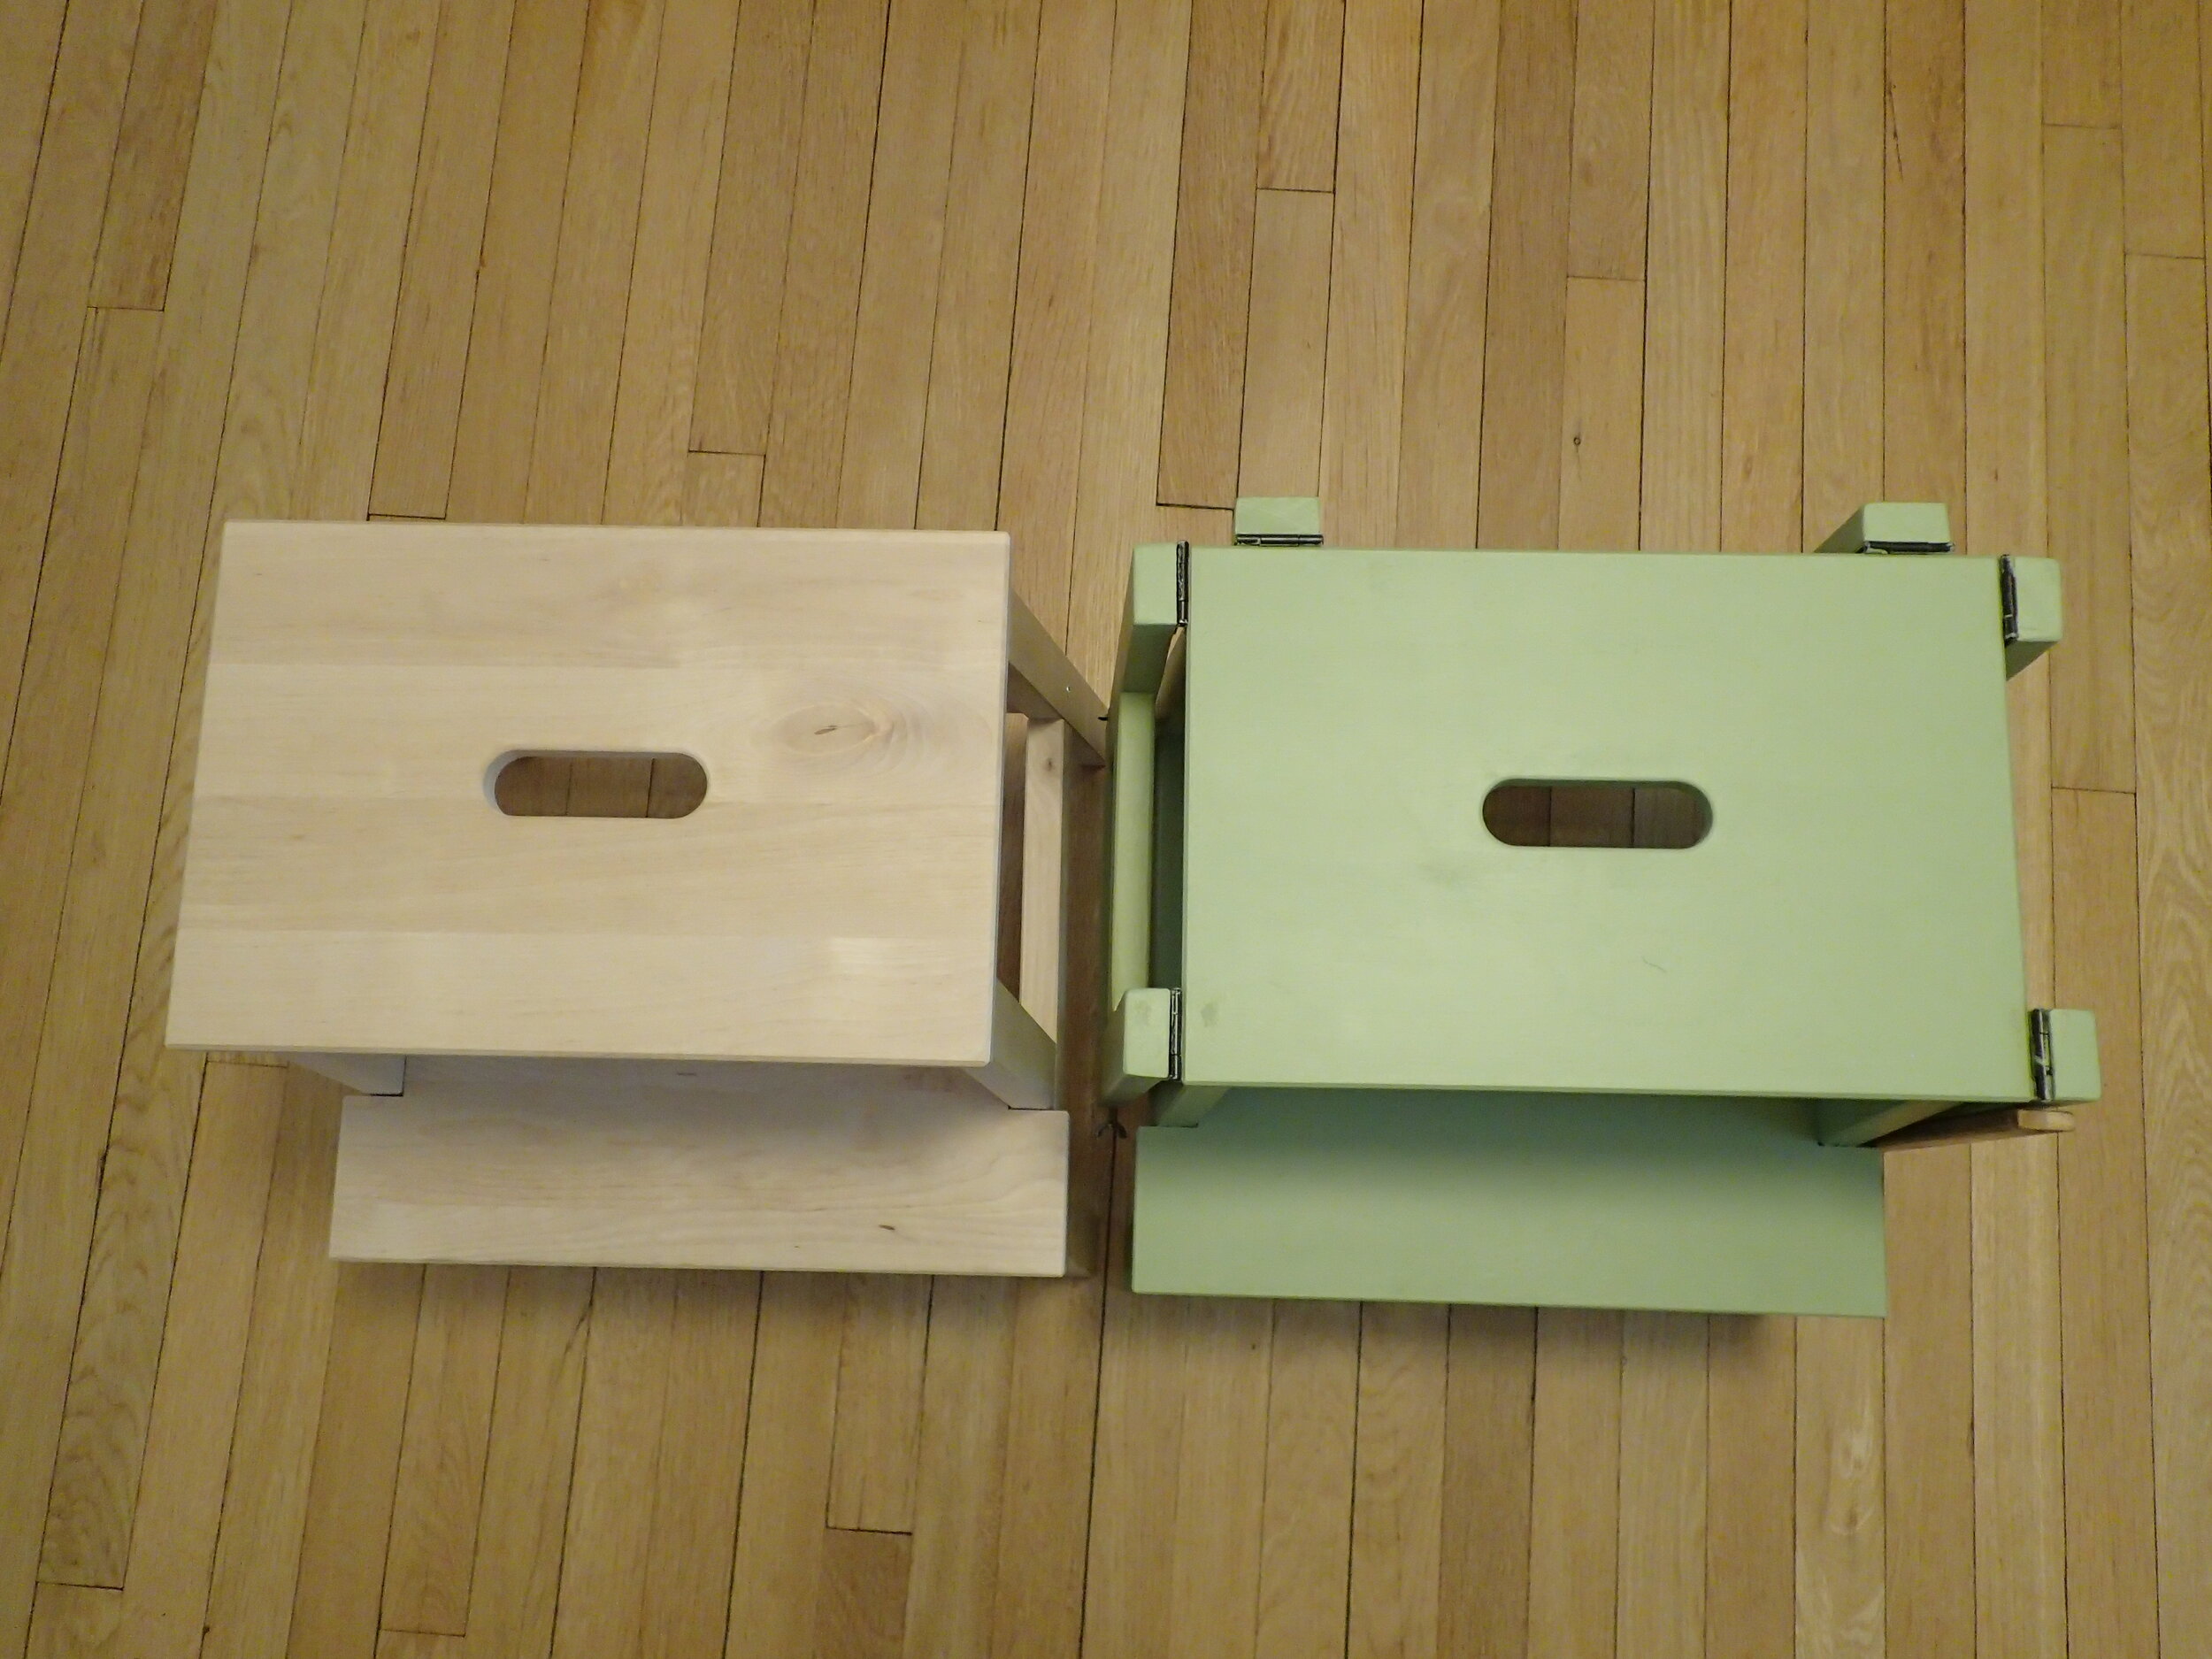
We had an old, small can of Mythic paint - Dilly Dally is the color. It was perfect for this project. The hardware needs to be cleaned-up a bit; and, this paint does not take abuse well; so, in a year’s time this stool should look like a family heirloom.
The duality of this design allows adults to use it as a step stool or a seat, while the sides are down.
I may do the same project with the second stool in a different color.
I’ve considered making this a kit for others to install themselves.
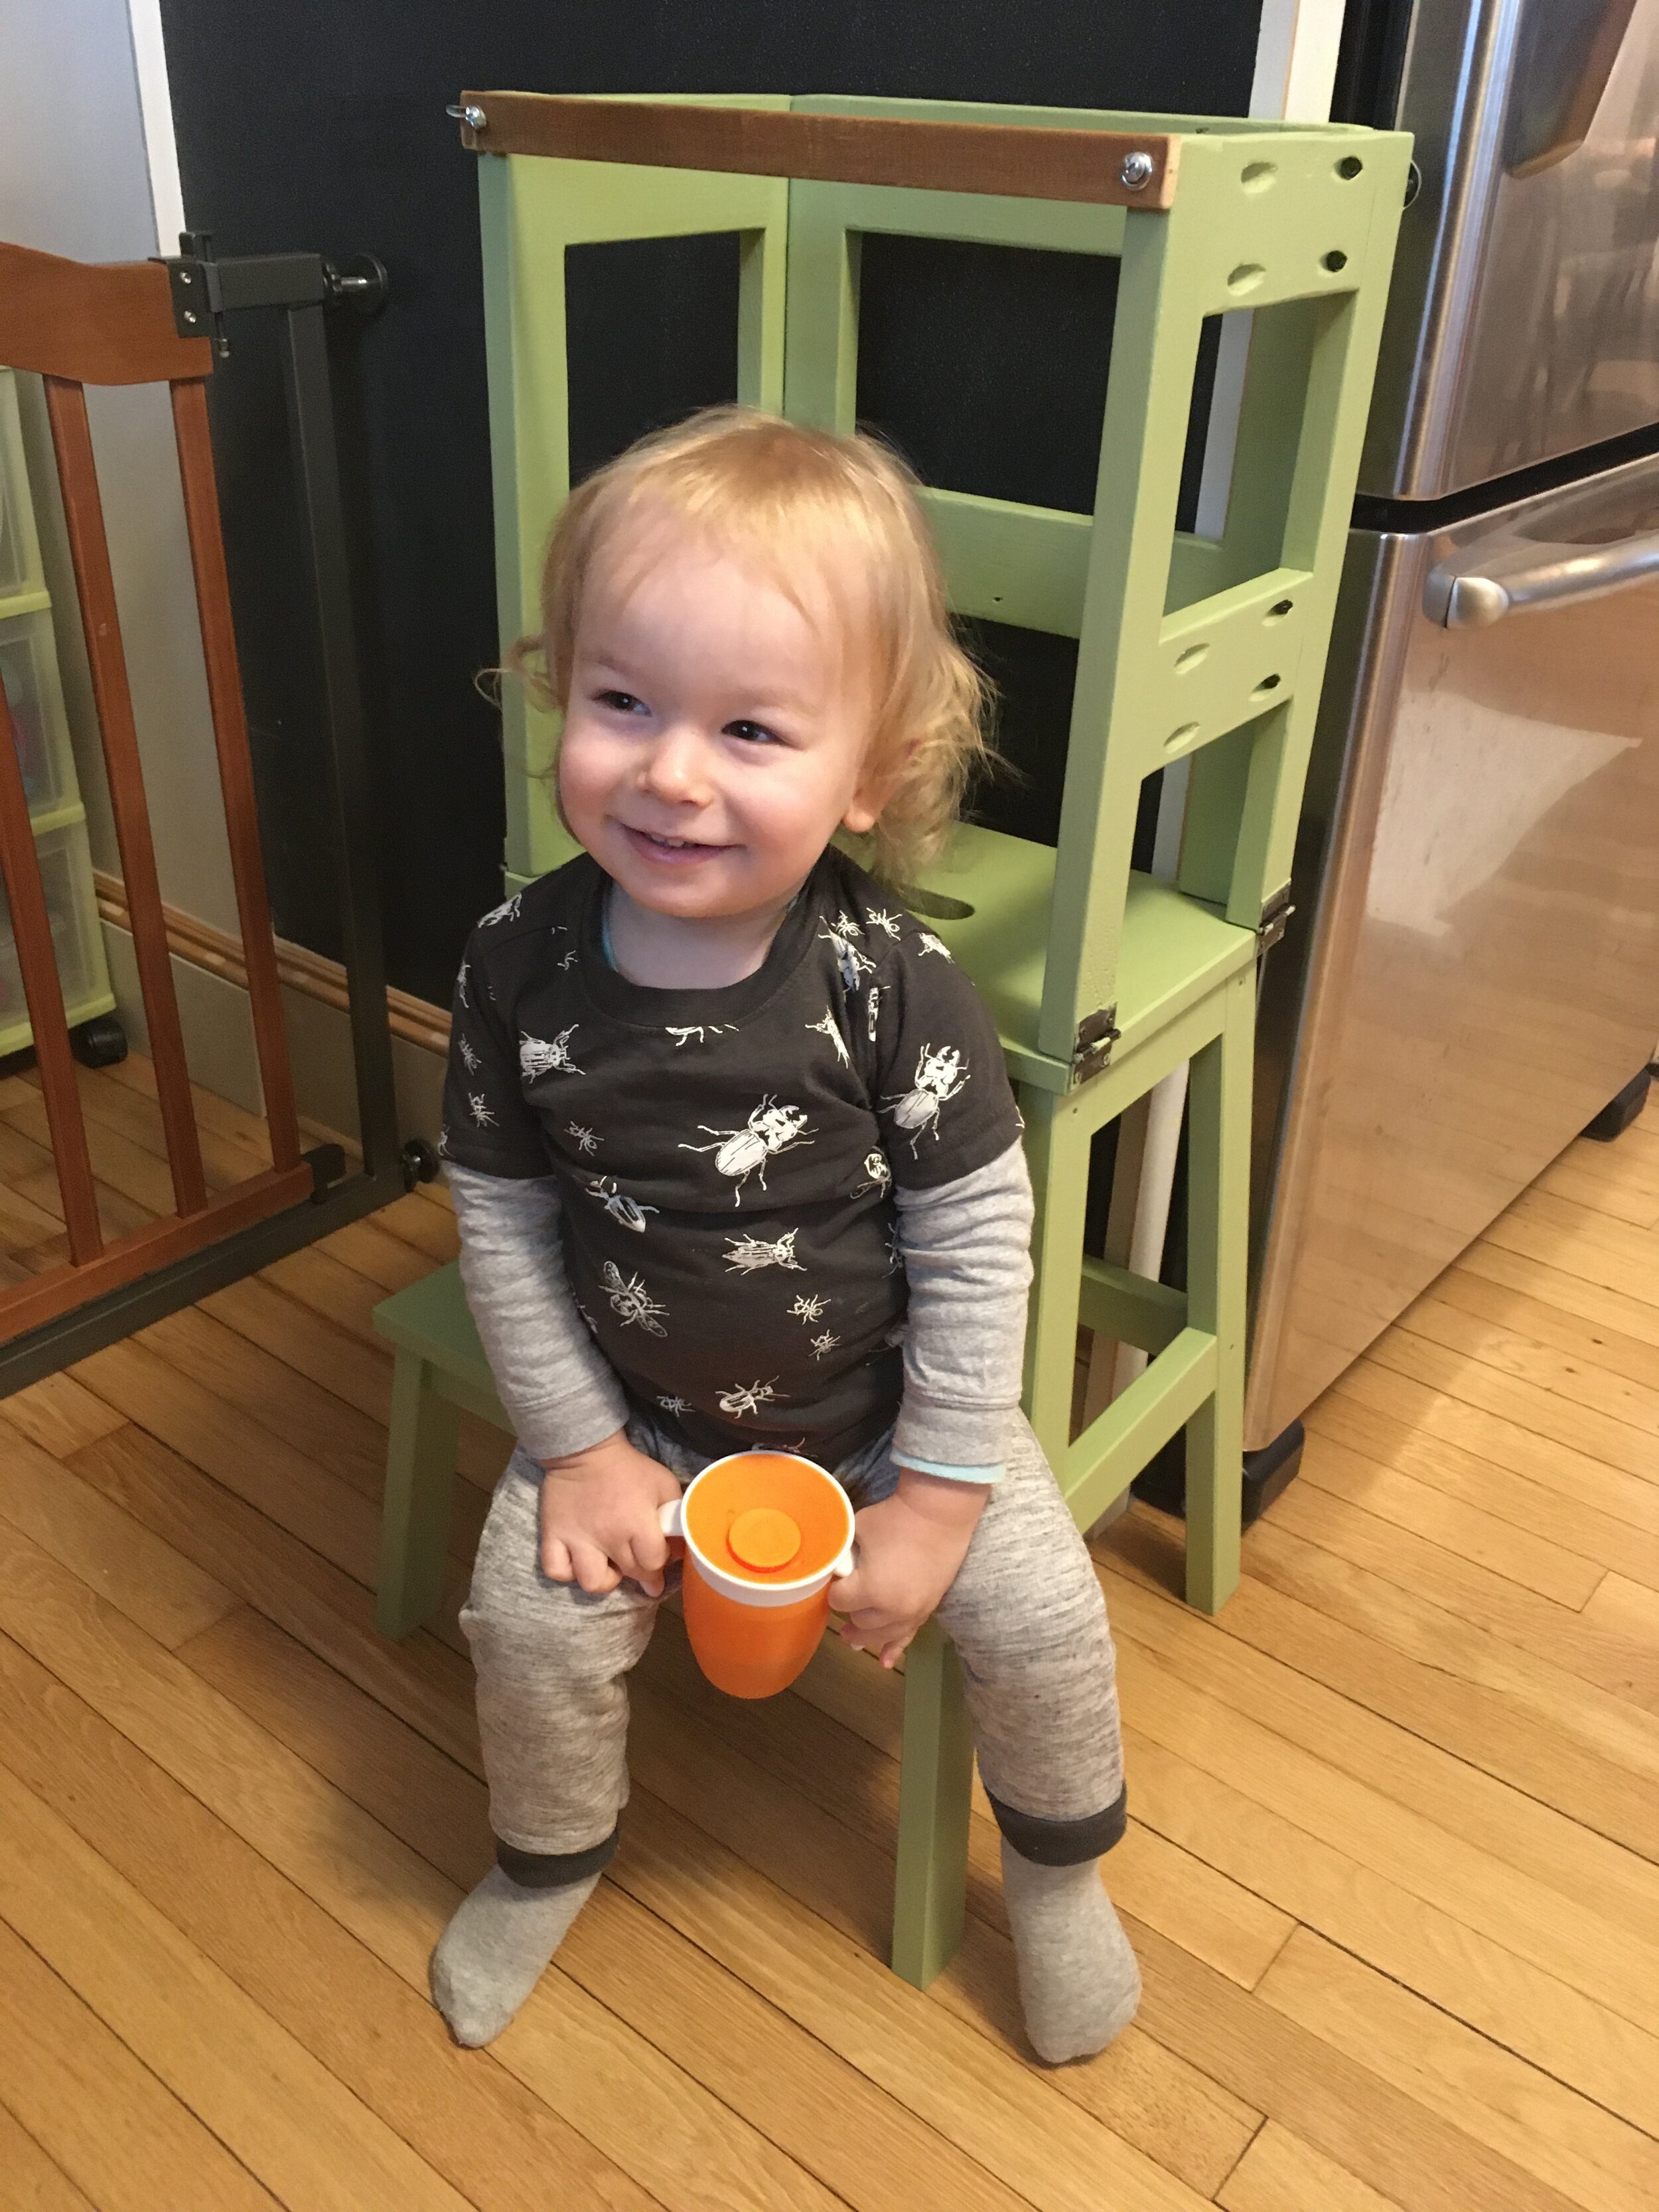
Bottom line: Our toddler LOVES this tower and he’s becoming a great helper as he becomes more independent.